When a robot vacuum won’t connect, it’s tempting to blame the robot. In practice the cause is usually the network setup, the phone doing the pairing, or a setting that quietly blocks new devices.
Band and security mismatches
Robots vary in which Wi-Fi bands they support. Many work only on 2.4 GHz; some newer models also handle 5 GHz. If your router combines bands under one name, a single-band robot may struggle during setup. Similarly, a router set to a security mode the robot doesn’t support will reject it without a clear error message.
The phone gets in the way
During pairing, your phone acts as a go-between. VPN apps, private DNS, battery savers and denied Bluetooth or location permissions can all interrupt that handoff. Switching to a different Wi-Fi network halfway through will also break it.
Distance and interference
A dock tucked behind furniture at the far end of the house may sit on the edge of your network’s range. The robot may pair when carried near the router, then drop offline once it’s back home on the dock.
Troubleshooting steps
Confirm band support
Check your manual for supported Wi-Fi bands and security modes.
Pause VPN and filters
Temporarily disable VPN, private DNS and ad-blocking apps on your phone.
Pair close, test far
Pair near the router, then check signal strength at the dock’s actual location.
Re-enter the password carefully
Watch for case, spaces and similar-looking characters.
Restart in order
Restart the router, wait for it to come back, then restart the robot.
Final takeaway
Most connection failures come down to band support, the phone’s settings or signal at the dock. Work through them in that order before assuming the robot is faulty. The Wi-Fi connection guide covers every step in detail.
A robot sitting on its dock that never seems to charge is one of the most common frustrations. Fortunately, the cause is usually simple and safe to fix yourself.
Contacts need a clean connection
Charging relies on small metal contacts touching each other. A light film of dust or residue on either the robot or the dock can be enough to stop the flow of power.
Dock placement matters
A dock on thick carpet, a slight slope or too close to furniture can stop the robot from lining up properly. The robot may appear docked but sit a few millimeters out of position.
Power at the outlet
Outlets controlled by a wall switch, loose adapter cables and power strips that have been switched off are all easy to overlook.
Battery ageing
All rechargeable batteries lose capacity over time. If your robot charges normally but runs for noticeably less time than it used to, that’s usually ageing rather than a fault.
Troubleshooting steps
Check the dock’s power
Look for an indicator light and confirm the outlet works.
Clean the contacts
With everything off, wipe the contacts on the robot and dock with a dry cloth.
Reposition the dock
Hard, level floor, against a wall, with clear space around it.
Seat the robot by hand
Place it on the dock and watch for the charging confirmation.
Contact the manufacturer if needed
Especially for heat, swelling or a battery that won’t hold charge.
Final takeaway
Clean contacts, a well-placed dock and a powered outlet solve most charging problems. Leave battery replacement to the manufacturer or an authorized service provider.
A robot vacuum sees your home very differently from you. Small changes to the room and a few minutes of sensor care can make navigation noticeably smoother.
Remove the usual traps
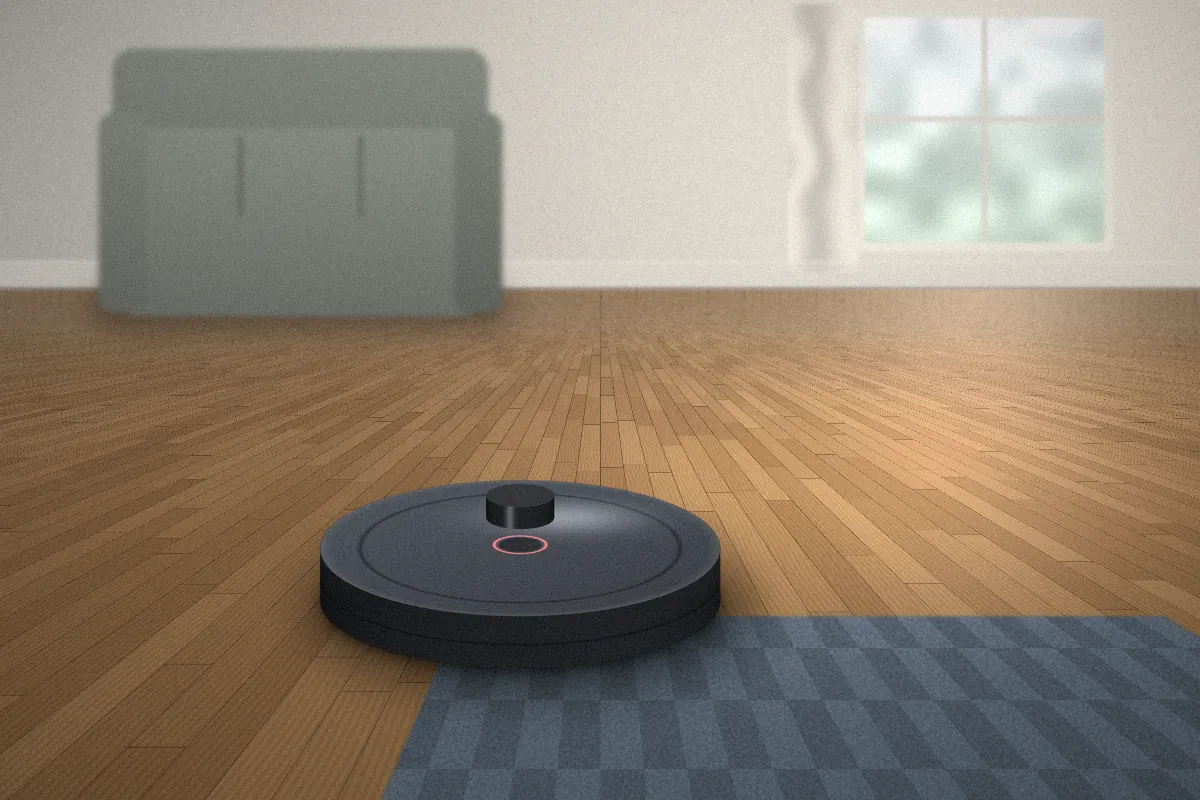
Cables, phone chargers, curtain cords, socks and pet toys are the main reasons robots get tangled. Thick rug fringe, low gaps under furniture and narrow chair legs are the main reasons they get stuck.
Keep sensors clear
Dusty cliff sensors can make a robot hesitate or treat normal floor as a drop. Dirty bumper or camera windows reduce obstacle detection. A dry microfiber wipe is usually enough.
Use your map tools
If your model maps, virtual boundaries and no-go zones are the cleanest way to keep it away from tricky spots. Room divisions also make it easier to clean high-traffic areas more often.
Lighting and dark surfaces
Some camera-based models navigate better in reasonable light. Some cliff sensors interpret very dark rugs as drops. Your manual may describe how your model handles these situations.
Troubleshooting steps
Do a robot’s-eye sweep
Get down to floor level and look for cables, fringe and narrow gaps.
Wipe all sensors
Use a dry microfiber cloth; no liquids.
Add boundaries
Use no-go zones for spots that cause repeated trouble.
Refresh the map
After rearranging furniture, let it re-map or edit the existing map.
Final takeaway
Better navigation is mostly about removing traps, keeping sensors clean and using your app’s map tools. See navigation troubleshooting for symptom-specific checks.
New to robot vacuums? You don’t need a complicated routine. A handful of habits will keep your robot cleaning well and help parts last longer.
Start with the bin
Emptying the bin often is the single most effective habit. A full bin reduces airflow, which reduces suction.
Hair is the main enemy
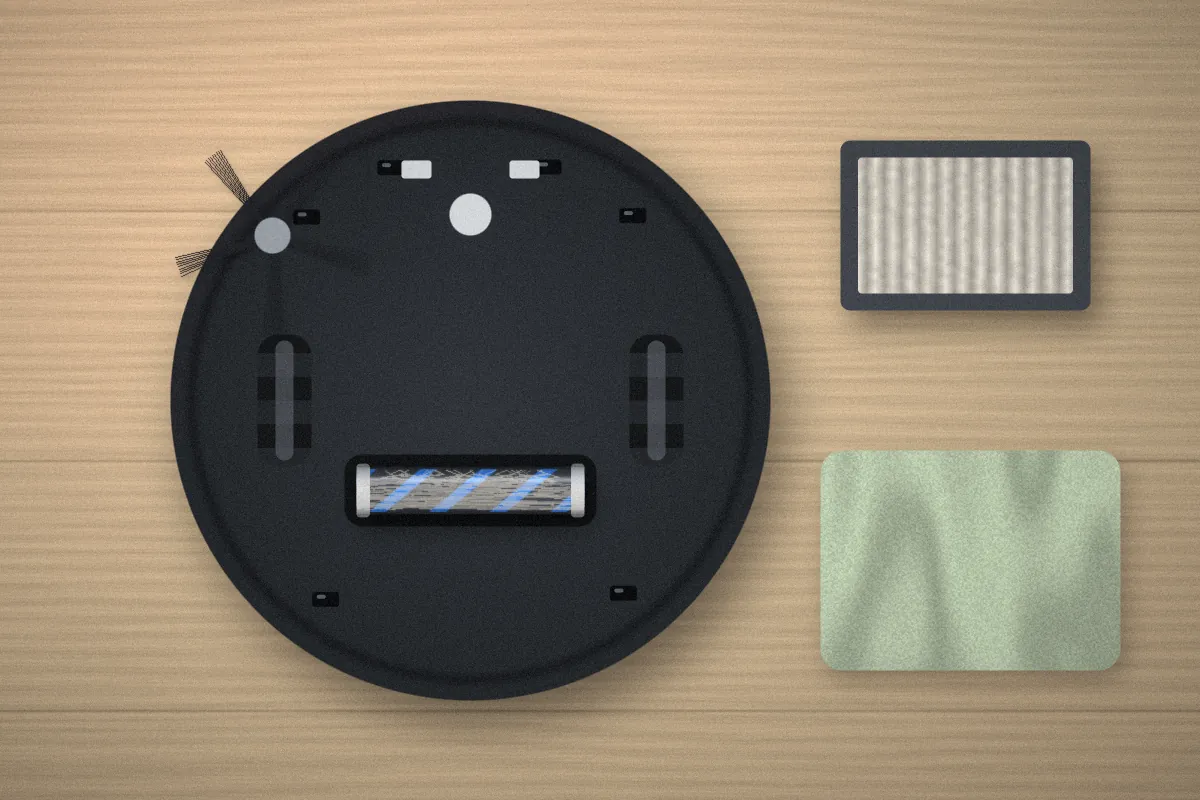
Hair wraps around the main roller, the side brush and wheel axles. Checking them weekly prevents strain on the motors and keeps the brushes sweeping properly.
Filters work quietly until they don’t
Filters slowly clog with fine dust. Tapping them out weekly and replacing them at the interval your manual recommends keeps airflow steady. Don’t wash a filter unless your manual says it’s washable.
Dry cleaning for electronics
Sensors, contacts and the robot’s body should be wiped with a dry cloth. Liquids and sprays can damage electronics.
A beginner routine
After runs
Empty the bin.
Weekly
Clear hair from brushes and tap out the filter.
Monthly
Wipe sensors and charging contacts; check wheels.
When advised
Replace filters and brushes with official parts.
Final takeaway
Bin, brushes, filter, and a dry wipe for sensors and contacts — that’s the core of robot vacuum maintenance. The full routine is on our maintenance page.
Error lights, beeps and app messages can feel cryptic, but they follow a pattern. Understanding the main categories turns most errors into a simple check.
How robots report problems
Depending on the model, errors appear as light colors or blink patterns, sequences of tones, spoken prompts, codes on a display, or plain-language messages in the app. The meaning of any specific code is set by the manufacturer and varies between models.
Clear the issue, then restart so the error resets.
Escalate if it repeats
Contact the manufacturer if the same error keeps returning.
Final takeaway
Treat an error as a pointer to a part, not a verdict. Record it, look it up for your model, fix the likely cause and restart. Repeating errors after basic checks are a job for the manufacturer.