Independent robot vacuum help center — not affiliated with any manufacturer.

Maintenance tips

Robot Vacuum Maintenance Tips

A few minutes a week keeps suction strong, navigation accurate and charging reliable. Here’s what to clean, how, and how often.

  • Weekly routine
  • Dry-clean electronics
  • Interactive checklist
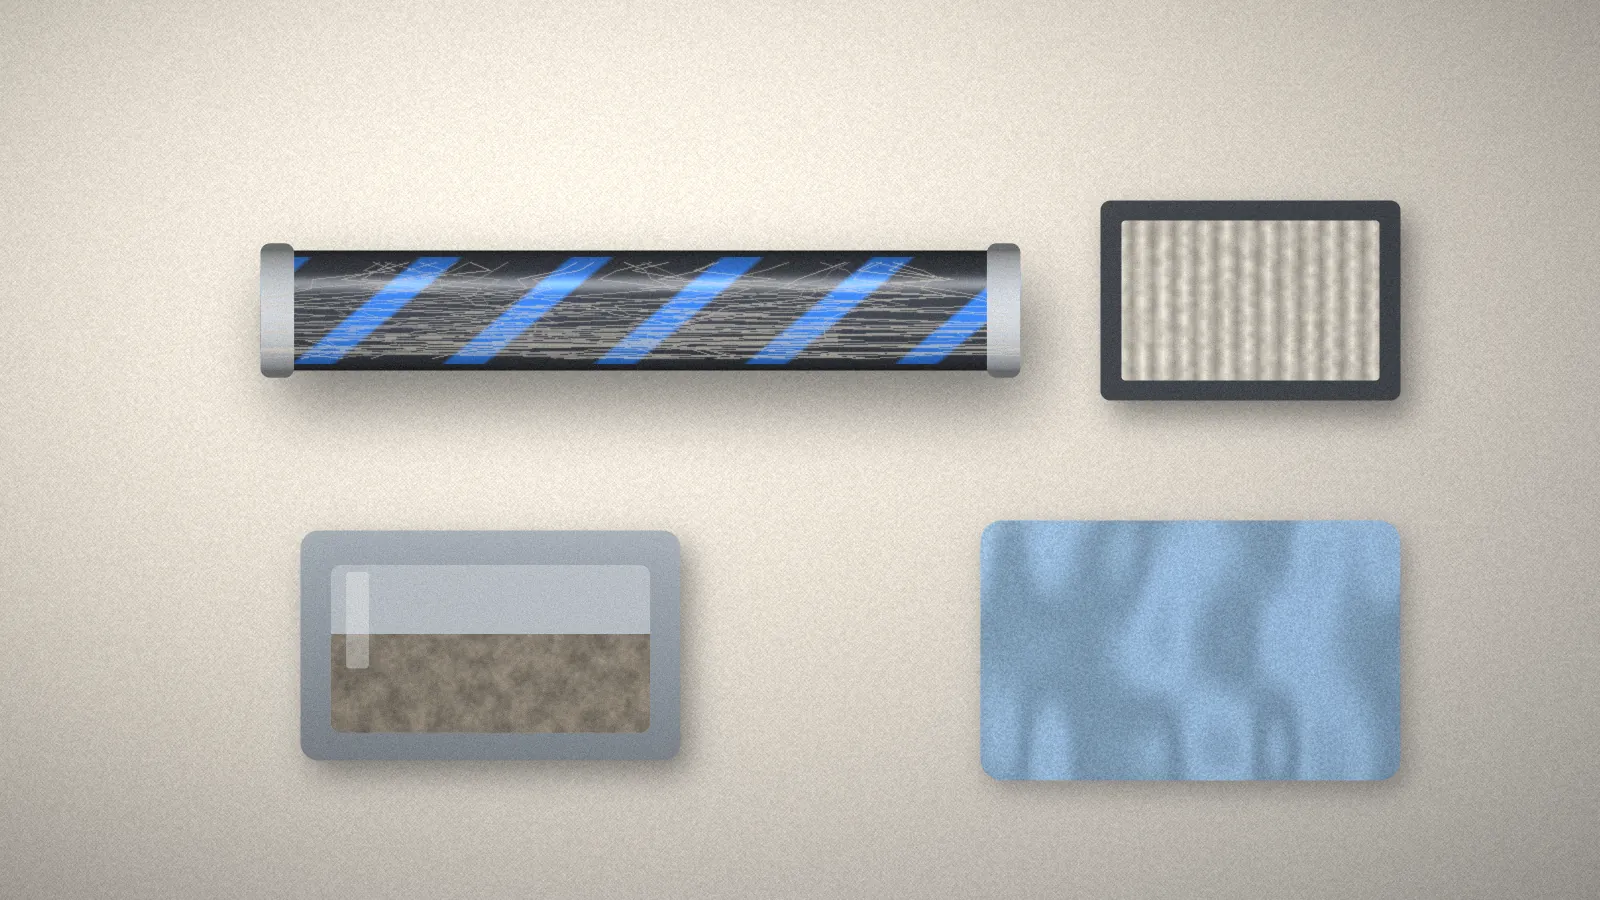
Main brush roller, pleated filter, dustbin and microfiber cloth laid out on a linen surface

Before any maintenance: turn the robot off and remove it from the dock. Use dry cloths and soft brushes on electronic parts — don’t spray liquids, cleaners or water onto the robot, its sensors or the dock. Your manufacturer’s recommendations always come first.

Routine Robot Vacuum Maintenance

Most cleaning-performance complaints — weak suction, missed spots, strange noises, docking trouble — trace back to routine care that slipped. The good news is that a few minutes a week covers almost everything.

BinAfter most runs
BrushesWeekly check
FilterWeekly tap-out
Sensors & contactsEvery few weeks

Homes with pets, long hair or lots of foot traffic will need more frequent care. Replacement intervals for filters and brushes depend on your model; follow the figures in your manual.

Emptying the Dustbin

  1. Remove the bin

    Follow your model’s release method. Some bins come out from the top, others from the back.

  2. Empty over a trash can

    Hold it low inside the bag to limit dust. Open any hinged door fully.

  3. Clear corners and the inlet

    Use a dry brush to free debris trapped around the opening.

  4. Reseat firmly

    Push it back until it clicks. A loose bin is a common cause of errors and weak suction.

If your robot has a self-emptying dock, replace its bag when the app or indicator asks, and occasionally check the robot’s own bin and the evacuation port for clogs.

Cleaning Brushes

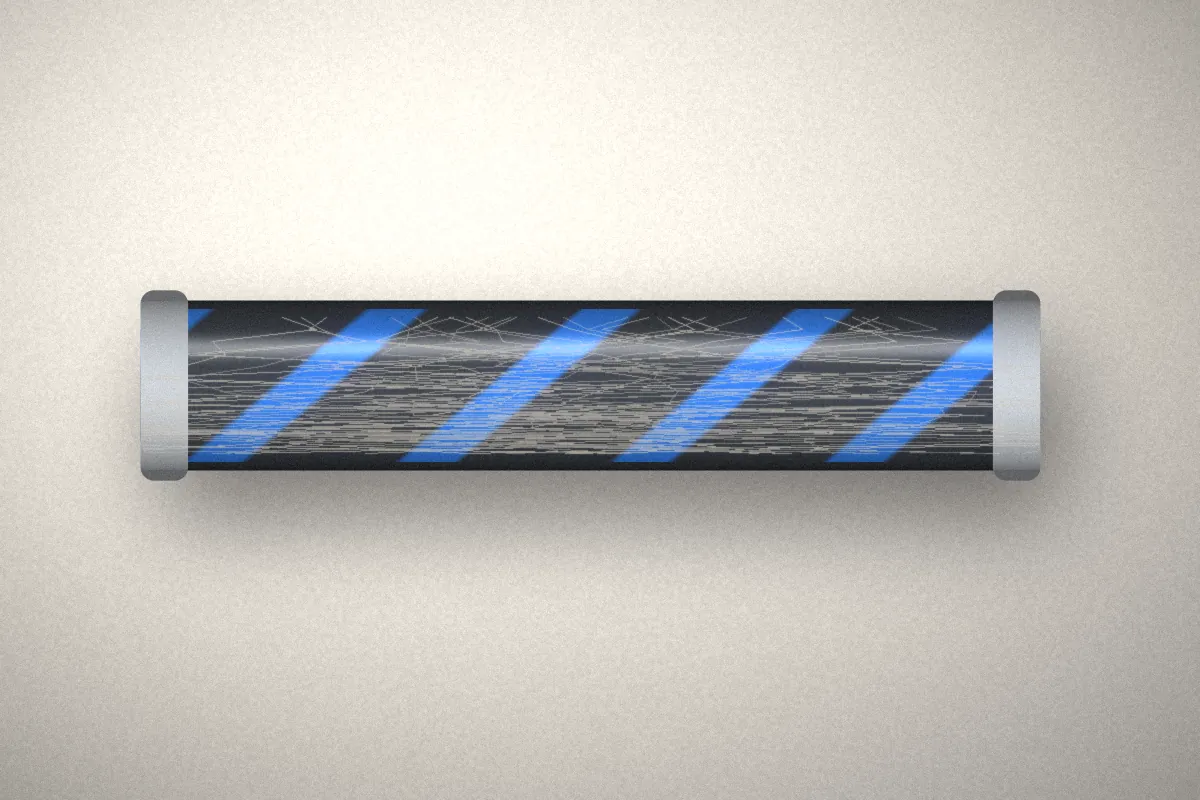
Main brush roller with hair wrapped around it, laid on a light surface
Hair collects at the ends of the roller, where it’s easy to miss.

Main roller

  1. Turn the robot over onto a soft surface and release the brush guard per your manual.
  2. Lift out the roller and remove the end caps if they detach.
  3. Unwind hair and thread. Small scissors or the cleaning tool supplied with many robots help — cut along the groove, never into the bristles or fins.
  4. Clear the bearings and end caps, then reinstall until everything clicks into place.

Side brush

Pull hair from the hub and check that the bristles aren’t badly bent. Replace a side brush that has lost its shape, as it will flick debris away rather than gathering it.

Maintaining Filters

Dusty pleated filter next to a clean replacement filter on a wooden table
A clogged filter (left) restricts airflow and reduces suction.
  • Tap, don’t scrub: tap the filter against the inside of a trash can to release dust.
  • Check washability: many robot vacuum filters must not get wet. Only rinse if your manual says the filter is washable, and let it dry completely before reinstalling.
  • Replace on schedule: filters wear out over time. Use the interval in your manual, and official or manufacturer-approved replacements.
  • Seat it correctly: a filter installed upside down or not fully seated lets dust bypass it.

Cleaning Sensors

Sensors help the robot detect stairs, walls and obstacles. A thin layer of dust can make them misread the room.

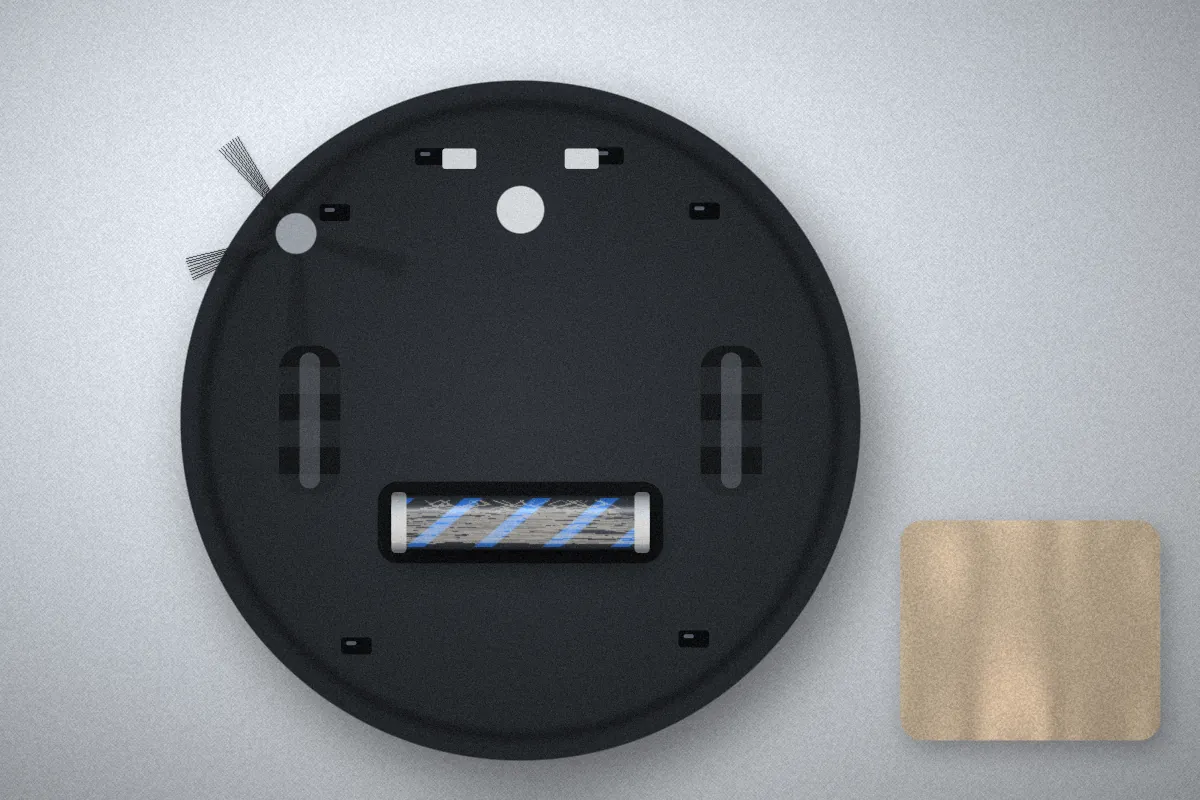
Underside of a robot vacuum showing small sensor windows near the edge, beside a soft cloth
Cliff sensors are the small windows around the underside edge.
  1. Find the sensors

    Cliff sensors sit around the underside edge; wall, docking and obstacle sensors may be on the bumper or top. Your manual will show their locations.

  2. Use a clean, dry microfiber cloth

    Wipe each window gently. Don’t use sprays, wipes or cleaning liquids.

  3. Check camera or laser windows

    If your model has a camera or laser turret, wipe the window gently and check the turret spins freely if designed to.

Checking Wheels

  • Drive wheels: press each one in and let it spring back. It should move smoothly. Pick hair from the axles.
  • Front caster: on many models it can be pulled out to clear hair from the axle — check the manual first.
  • Tread: wipe tires with a dry cloth if they look shiny or dusty; slipping wheels can affect navigation.

Charging Contact Care

Charging contacts are the small metal plates on the robot and the dock. Dust and residue can stop the robot from charging even when it’s sitting in the right place.

  1. Unplug the dock and turn off the robot.
  2. Wipe the contacts on both with a clean, dry cloth.
  3. Check for visible damage. If a contact looks bent, burnt or corroded, stop and contact the manufacturer.

Battery Care

Let it rest on the dock

Most robots are designed to stay docked between runs. Follow your manual if it recommends otherwise.

Mind the temperature

Store and use it indoors, away from heaters and direct sunlight.

Storing for a while?

Check the manual for long-term storage advice; some recommend a partial charge and switching off.

Leave the battery alone

Don’t open, puncture or replace the battery yourself. Use authorized service for replacement.

Maintenance Schedule

Each runAfter cleaning

  • Empty the bin
  • Glance at the brushes

WeeklyQuick care

  • Clear the main roller
  • Tap out the filter
  • Check the side brush

MonthlyDeeper check

  • Wipe all sensors
  • Clean charging contacts
  • Check wheels and caster

As advisedReplacements

  • Filter
  • Main and side brushes
  • Dock bags, if used

This week’s maintenance checklist

0 of 7 done
Related guides

Keep going