Lift cords and cables
Charging cables, lamp cords and blind pulls are the most common cause of tangled brushes.

From the box to the first full clean: placing the dock, charging properly, preparing your home and understanding the controls.
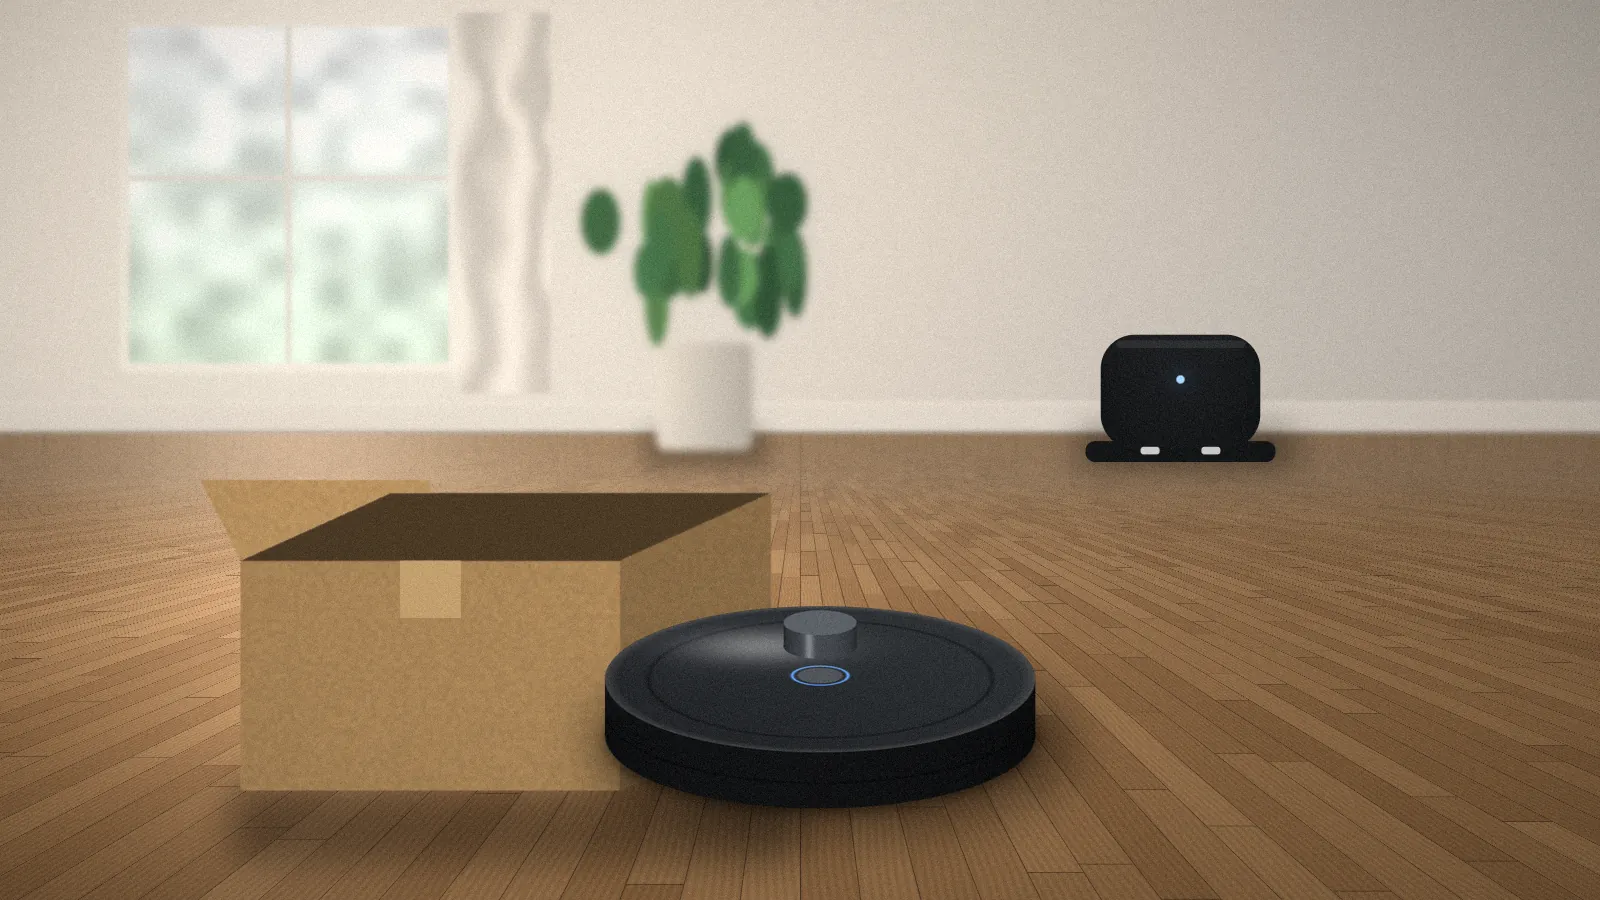
A robot vacuum works best when it starts life with three things: a fully charged battery, a dock in a sensible spot and a home that has been lightly prepared for it. Getting those right on day one prevents most of the “why does it keep getting stuck?” questions that come up later.
This guide walks through the setup stages in order. The details — button names, light colors, which accessories come in the box — vary between brands and between models from the same brand, so keep your quick-start guide or manual nearby and treat it as the final word on anything model-specific.
Plan for about an hour. Most of that is the first charge. You can prepare your home and install the app while the battery fills.
Unpack everything onto a clear table or floor and compare it with the contents list in the manual. Keep the box and inserts for at least the return period — they are the safest way to ship the robot if it ever needs service.
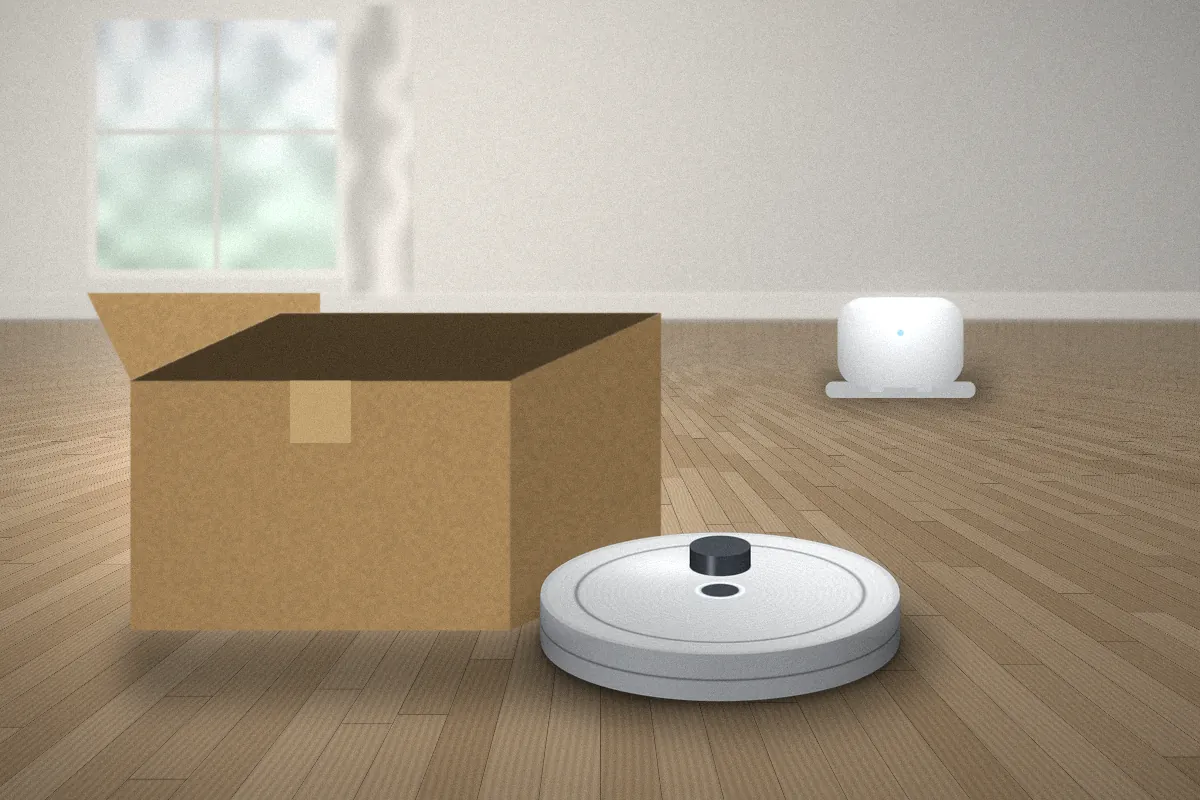
| Component | What it does | What to check |
|---|---|---|
| Robot | The vacuum itself, with battery installed | No cracks; bumper moves in and springs back |
| Charging dock or base | Where the robot charges, and on some models empties its bin | Charging contacts are clean and undamaged |
| Power adapter / cable | Powers the dock | Plug type matches your outlets |
| Side brush(es) | Sweeps debris from edges toward the main brush | Some models ship with it detached |
| Filter and bin | Captures dust and debris | Filter is seated; bin clicks into place |
| Extras (model-dependent) | Spare filter, mop pad, boundary accessories | Note what you have for later |
Remove every protective film, foam block and tape strip. Packing material is often hidden under the bumper, across sensor windows or on the drive wheels, and a forgotten strip can make the robot behave strangely on its first run.
The dock is your robot’s home base. It needs to be somewhere the robot can find, reach and approach in a straight line.
Place the dock on a flat floor against a wall. Thick carpet can tilt the dock and stop the robot’s contacts from lining up.
Leave open space on both sides and in front. Your manual will list the recommended clearance for your model — respect it, because the robot uses that space to turn and align.
Keep the dock away from stair edges, direct sunlight, heating vents and tight corners, and out of busy walkways where it will get knocked.
Route the power cable along the wall and tuck any slack behind the dock so the robot cannot catch it.
Plug it in and look for the dock’s indicator light, if it has one.
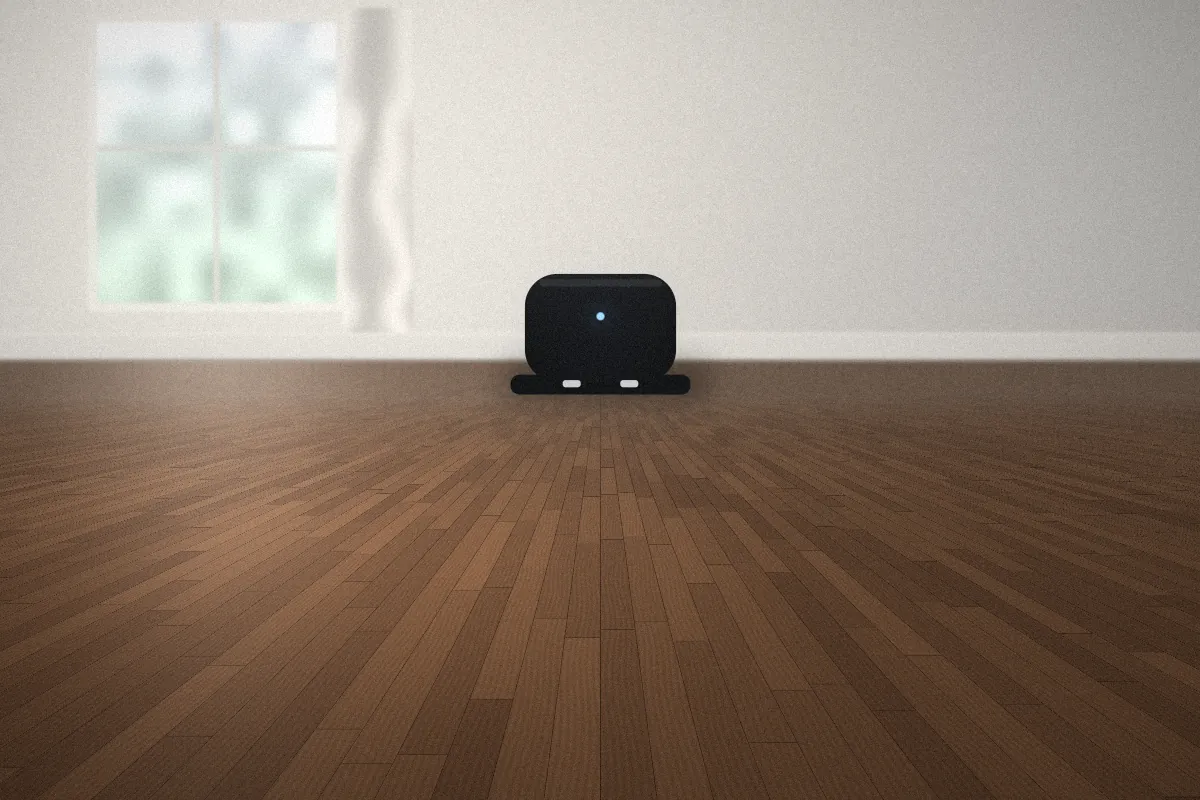
Most manufacturers recommend a full charge before the first cleaning run. Place the robot on the dock with its charging contacts touching the dock contacts — you should see or hear a confirmation such as a light change or tone.
Use only the dock and power adapter supplied with your robot, or official replacements. Third-party chargers may not match the battery’s requirements.
A quick tidy before the first run helps the robot build an accurate map and avoids early frustration. Think about the floor from the height of a robot vacuum.
Charging cables, lamp cords and blind pulls are the most common cause of tangled brushes.
Socks, toys, pet toys and paper can be swallowed or pushed around the room.
On mapping models, the first run is when it learns your layout.
Most robots have cliff sensors, but block off unguarded drops and raised platforms you’re not sure about.
Rugs with long fringe, very thick shag and very dark or black rugs can confuse some models. If you notice problems there later, the navigation troubleshooting section explains why.
Even app-controlled robots usually have one or more physical buttons. While the exact layout varies, these functions are common:
| Typical control | Usual purpose | Notes |
|---|---|---|
| Clean / start | Starts or pauses a cleaning run | A long press may do something different on some models |
| Home / dock | Sends the robot back to the dock | Useful when it stops mid-room |
| Spot clean | Cleans a small area around the robot | Not available on every model |
| Power | Turns the robot on or off | Some models only power off when lifted from the dock |
| Status lights | Show charging, Wi-Fi and error states | Patterns differ widely — check the manual’s light chart |
Learn the meaning of your robot’s status lights early; your manual usually includes a chart. That chart will save you time later on the error indicators section.
With a full battery and a tidy floor, you’re ready. If you plan to use the app, pair the robot first using the Wi-Fi connection guide — mapping models often save their first map to your account.
Begin from the dock rather than placing the robot mid-room, so it can record its starting point.
Watch where it hesitates, bumps or gets stuck. Those spots tell you what to adjust.
Avoid moving the robot during its first mapping run unless it is truly stuck.
First runs often collect more debris than usual. Empty the bin and check the brushes afterward.
If your app shows a map, check rooms and boundaries before setting schedules. The app setup guide covers this.
Use this checklist to confirm nothing has been missed. Your ticks are only stored in this page while it is open.